Showing posts with label Teeny Tiny Sentiments. Show all posts

Sunday, December 4, 2016

CTC #107 - Holiday Punch Bundles

Hi all, welcome to another week at CTC, this week we are taking inspiration from the Punch Bundles in the Holiday catalogue. 

I had a little struggle with this one because (as hard as it is to believe) I don't have any of the punch bundles!!!  I settled on the card in the lower left of the above picture.

I decided to use one of the Annual Catalogue punch bundles in my CASE, the Foxy Friends bundle. This is a super cute bundle and is so versatile, with a number of animals able to be created, so I made the little cat and turned the sketch into a baby card.  Making this reminded me of one of the keepsakes that was on my daughter's hospital crib when she was born, although that had a holy picture. I haven't thought about that for a long time, in fact it wasn't until the card was finished that it caught my eye and the memory came fludding back!

Here is a picture of the inside which I also deocrated with the Foxy Friends stamp set.  The leaves at the top of the insert use the curved stamp from the set:

The photo isn't great, but here you can see the stamp and the stamped image. This is one of my favourite things about the photopolymer stamps, I put one end of the stamp on my clear block and then pulled it until it straightened the image out and pressed it onto the block.  It held and stamped perfectly.

I hope I, or one of the other team members has inspired you to join in this week, just add your picture to the main CTC page by following the link above.

Time to head on over to see what Jackie has been inspired to create.

Happy Stamping
Monique

Sunday, July 31, 2016

CTC #89 - Christmas

Welcome to another week at CASEing the Catty, this week we are re-visiting the Christmas section of the Annual Catalogue.  I just love Christmas, and have just held my Christmas in July class so I am feeling very very Christmassy right now.

I took my inspiration from the image above, the cute gift box with the wreath.

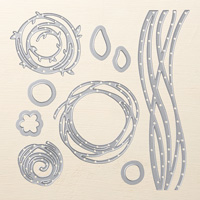
Instead of a box, I used the inspiration image to create this card. I used layers of the biggest "swirl" from Swirly Birds Thinlets to create the wreath and give it more dimension and depth.  The sentiment is from Teeny Tiny Sentiments, I learned this weekend that the Thoughtful Banners stamp set has a little border for the new Classic Label which works perfectly with Teeny Tiny Sentiments and gives them a lovely finish.

Time for you to join in the fun, by taking inspiration from the Christmas section of the catalogue and uploading a picture of your creation to the above link to our monthly challenge page.

Time to hop on over and see how Jackie has been inspired.

Product List

Happy Stamping
Monique

Sunday, November 29, 2015

CTC 58 - 3D Gift Packaging

Don't you just love gift giving? I love making people's gifts extra special by creating the packaging to go with them, and at this time of year when there are lots of people to give little gifts to Stampin' Up! comes to the rescue with lots of packaging options.

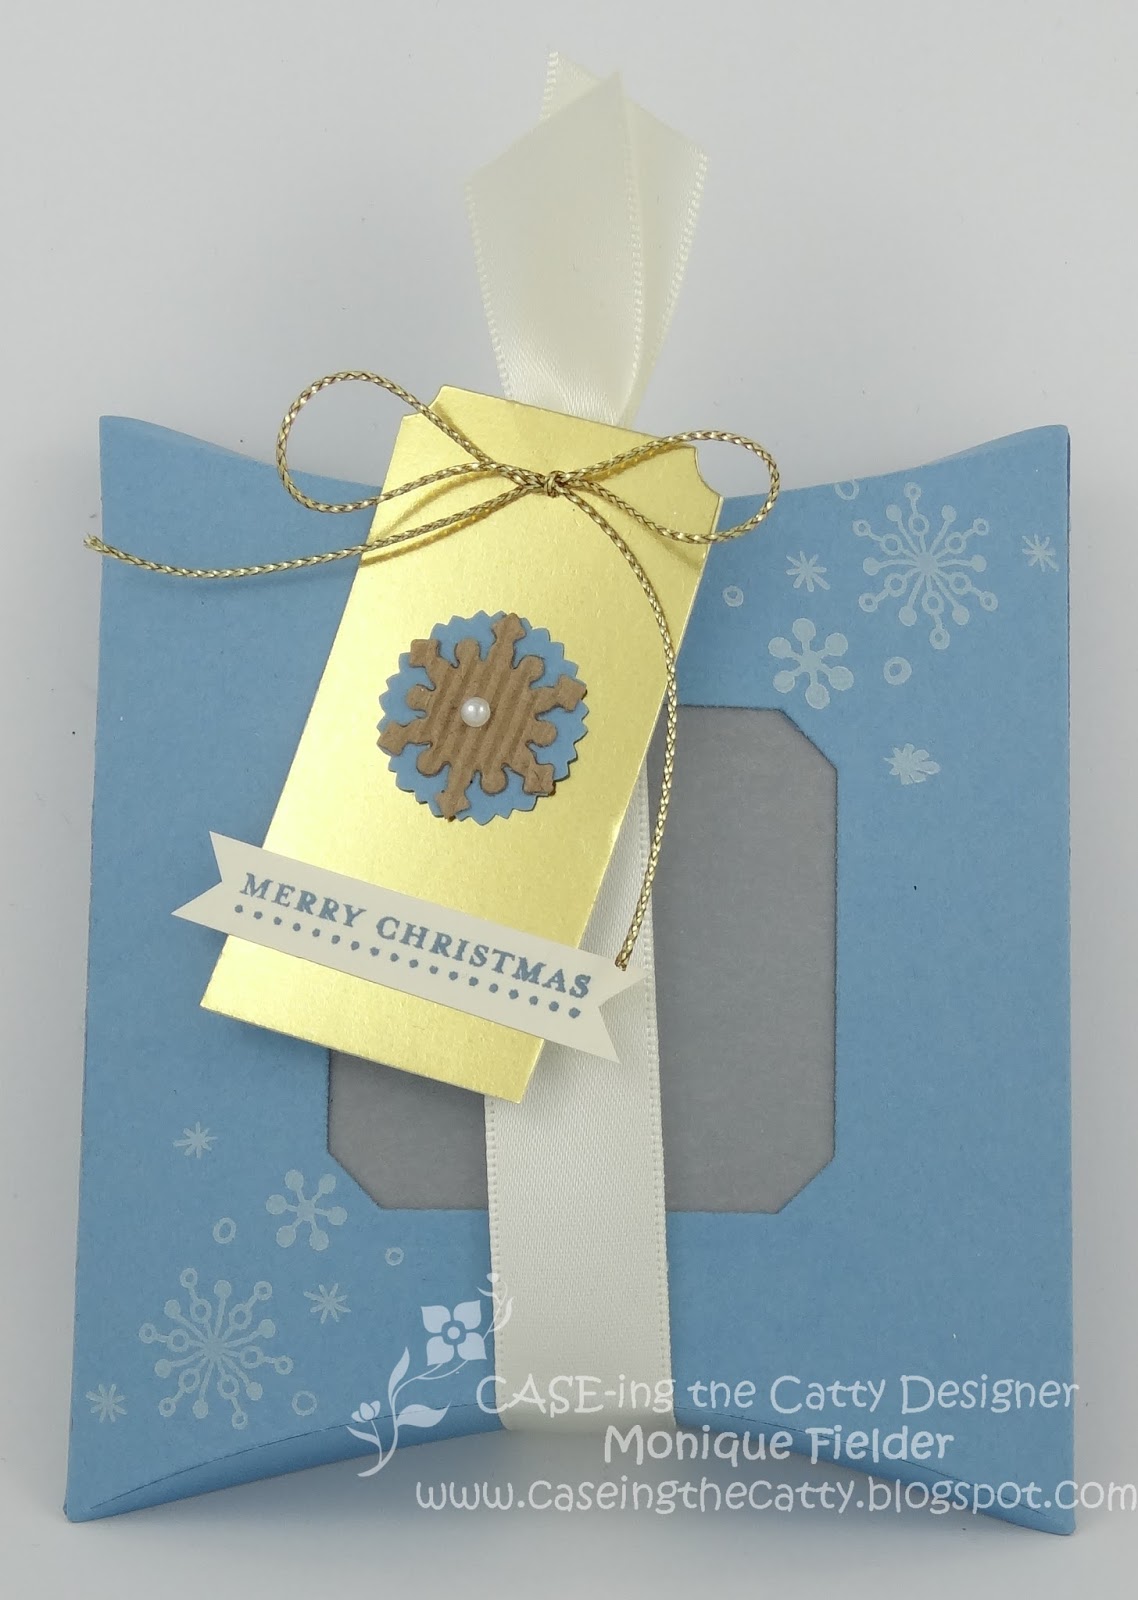
I have used the adorable Square Pillow Box Thin letsFramelits for this little gift, ready to hold a gift card, or sweet treat.  I just love using blues at Christmas and for this I used Marina Mist and stamped it with the snowflakes from Perpetual Birthday, it is just wonderful for this type of small stamping.  I cut out the window using one of the framelits from the set and the tag from the Tags & Labels Framelits, cutting just one edge.  To make the embelishment I punched a Marina Mist 7/8" Scallop Circle and then layered a Kraft Corrugated Paper snowflake, again using one of the many little framelits that come with this set.

Sadly the Square Pillow Box Thinlets is on the Retirement List so if I have inspired you to get one, don't wait too long to order it, they will only be available until 4th January 2016.

I am the last blog on the hop, so if you have been all the way around then hop back to the main blog and if you get inspired to join in add a link to your project in the comments.  Otherwise follow the link to Stasia's blog and check out her project inspired by the Holiday Catalogue. 
Happy Stamping
Monique


Saturday, August 1, 2015

Sketch Frenzy Roses

I have had such a fun day today creating, my last card to share is one inspired by the Sketch Frenzy Friday sketch. 

I love the Timeless Elegance DSP, so vintage and pretty.  For this card I layered on Basic Black and Blushing Bride and then used a sponge dauber to add Blushing Bride to the roses on the DSP.  I chose a sentiment from Teeny Tiny Sentiments layering again on Blushing Bride, of course with so much blushing bride it had to be a wedding card!

Happy Stamping
Monique

Monday, April 21, 2014

Easter Treats

No challenge today, I just want to share a cute little Easter project with you. Aren't these just darling?  They are not entirely my own creation, I went looking on-line for a treat box and found a tutorial at XO Stamping Studio, I just made some changes to make it Easter themed.

One of the things I changed was the way I cut out the purse die.  I realised that I did not need the whole die and so to save card stock used an A4 sheet of card stock cut into quarters (14.9cm x 10.5cm).  

 As you can see this makes a bit of a mess of the purse, but leaves the parts you will need for the treat holder. 

You can see from this picture that you will still need to trim a reasonable amount from the purse!

The next step is to trim the top off each of the panels. The neatest, most consistent way to do this is to fold up the bottom of the purse and line up with one of the vertical lines on the paper trimmer - I used the 6cm mark (2-3/8"). 

To make this easier for mass production I used a small piece of craftwood I had lying around and after lining it up butted the bottom of the purse against it for a neat even cut. You could also use a small set square, a flat cutting plate from your Big Shot, or a piece of chipboard.

 I am very much the fan of making things easier for myself, so I created this little template by running some chipboard through the Big Shot and then trimming approx 3mm (1/8") from each side.

One of the benefits of this is that you can then position the template right over the DSP right where you want it.  I really like when things are centred and this works perfectly.  Adhere one of these to each panel.

Apply adhesive to the side tab on one of the panels, I used Tombow, but Sticky Strip or other strong adhesive would also work well. 

 Line the tab up with the side of a second panel.  I found it easier to fold the tab over and ensure the two pieces were lined up evenly.  Do this with the second pair of panels, then use same process for adhering the two sections together.  

Add a base 6.7cm x 6.7cm (2-5/8" x 2-5/8"). Then fold over the tops and adhere with TomBow or Sticky Strip.  

Decorate the box as desired according to the occasion.  I finished mine off with cute little punch art chicks using the 2-Step Owl Punch and sentiment from Teeny Tiny Sentiments.

Happy Stamping

Friday, October 18, 2013

Matching Card

Don't you just love a challenge? One of my daughter's friends had her birthday recently and my daughter had bought a beautiful box to put the gift in.  As the resident card maker I was asked to make a card for her too.  On seeing the box I just knew I had to try and make a card to match.

I think it was the colours and the butterfly that made me think of doing a card to match.  I had such fun matching both the colours and the lay out, if you enlarge the photo you can see that I have done some additional stamping on the background to help match the two.

The birthday girl loved the card, box and treats inside so I consider that a job well done.

Happy Stamping
Wednesday, April 3, 2013

Easter Gifts - Part 1

This Easter has been a special one for me as my parents were able to visit, not only for Easter, but for my birthday as well.  I wanted to make them something a little special and so came up with these cute little card boxes.  

This one is the one I made for my father, I wanted to use some masculine colours and textures so chose the lovely Natural Trim Ribbon, it matches perfectly with Crumb Cake and is inspired by Hessian so has a lovely rough texture.  Just the thing when you want to add a ribbon but keep the masculine feel to the project.  Some masking with the Everybunny stamp set created the cute little scene.

This is the inside of the 'card', and as you can see the base of the card is actually a box that holds a block of Cadburry's chocolate.  My father had Old Gold Rum and Raisin in his.

 This is the front of the box I made for my mum.  I wanted it to be far more feminine and so used some retired DSP and carried the colours through to the flowers from Bordering on Romance.  I just adore the sentiment, an a la carte stamp called Easter Blessings (well named lol).  In the box for mum I put a big block of Peppermint chocolate which she also loved.  

I love being able to create special gifts for people, and I know my parents appreciate the extra care that goes into a gift like this.  I will post again tomorrow to show off the cute little Easter baskets I made for everyone too.

Happy Stamping

Saturday, March 2, 2013

Sale-A-Bration One Sheet Wonder

I have looked for a long time at One Sheet Wonders (OSW) and found one that I quite liked the look of but unfortunately it was in imperial measurements which is usually fine, but didn't look quite right on our A5 cards so I did a bit of a re-work using similar shapes.  The original OWS can be found at Joyfully Made Designs.


Firstly here is the full set of cards.  I used a single piece of DSP measuring 19cm x 18.5cm. I chose this sheet because one side had lots of lovely colours while the other was Island Indigo and Whisper White allowing me to have two different colour pallets.

Card 1: I made this set of cards while I was away at a craft retreat and didn't have a flourish stamp with me, so I borrowed the one from last year's Sale-A-Bration set Fresh Vintange, covering the main flower with the panel and the button from SAB this year!  The sentiment is from Petite Pairs.

Card 2: For this card I used the Bloomin' Marvellous for the flowers, leaves and sentiment.  I just love these colours, so bright and cheerful.

Card 3: I flipped the DSP over to use the Island Indigo and to mute it down a little I brayered it with Pool Party.  I some fun with this one, sponging the flowers and the doily and adding lots of pearls!  The cute little bow I learned off the very lovely Andrea from EnchantINK.  After following Andrea's blog for years and being inspired by her creations it was wonderful to be able to meet her in person!  Thanks Andrea.

Card 4: I fiddled and faddled with this card for some time before I was happy with it, but am happy with the result.  the sentiment is from the SAB set Vintage Verses. It was the addition of the three little butterflies that had me happy with the balance of the card.

Card 5:  I wanted to do something a little different with this card so used my two butterfly punches and paper piercing pack then slid the strip of DSP behind so that pattern shows.  Sentiment from Perfectly Penned and the ribbon from the Sycamore Street Ribbon & Buttons Pack.

Card 6:  Keeping fairly simple on this one I added a glimmer brad and some brushed gold card stock behind the DSP panels and sentiment.  Sentiment from Teeny Tiny Sentiments.

Card 7: I love this card, I think it is my favourite of the set.  I fairly closely followed the sample on the original page of the OSW.  I love that the a la carte sentiment is so flourishy and that it ties in so well with the flourish from Everything Eleanor. 

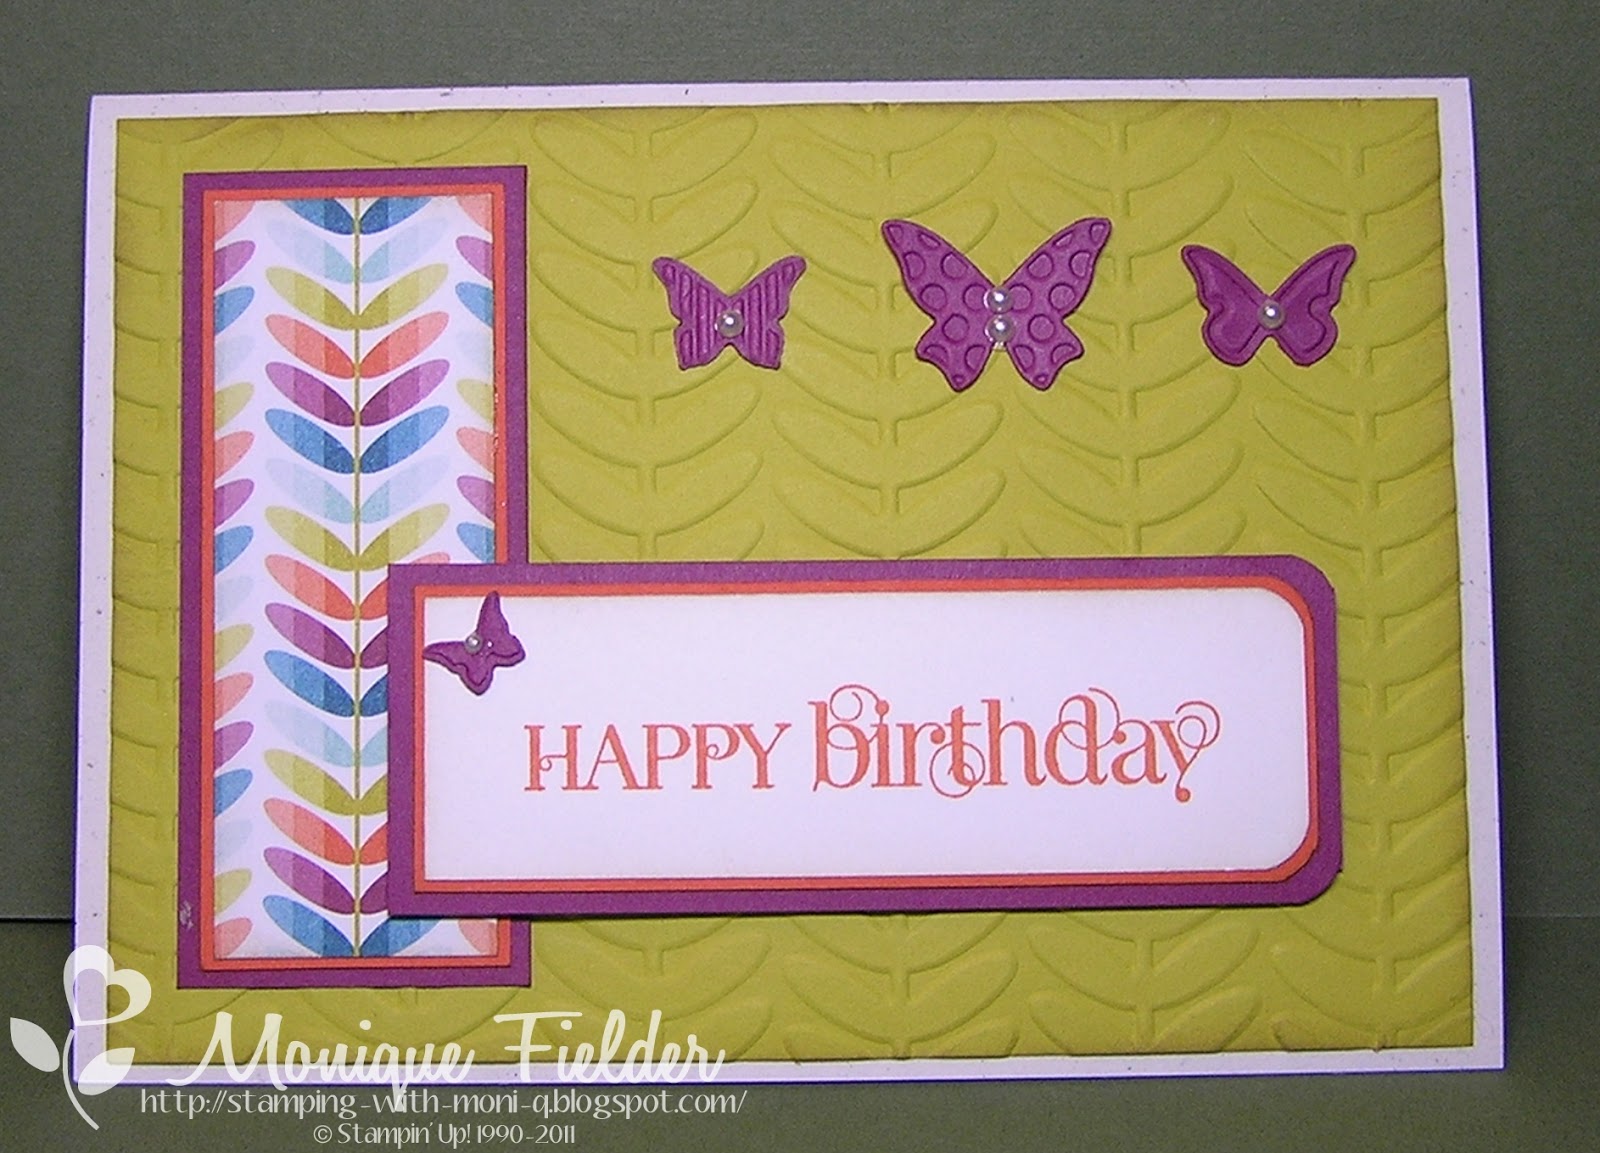
Card 8: This is another one I struggled with just a little.  I had the basic layout in my head but it wasn't quite right.  It took a coming back after a lunch break to realise the butterflies were needed to add balance. The embossing folder used is also available for free during Sale-A-Bration - Vine Street.

Card 9: I used the Postage Stamp Punch to layer the small pieces of DSP and stamped the Whisper White with images from Bloomin' Marvellous and Petite Pairs. I love the ribbon available for free as part of SAB as well, such a lustre and so easy to make bows with.

Finally here is the layout for the One Sheet Wonder in metric.  All 9 cards made from just one piece of DSP!  If you are thinking of doing one of these, my suggestion would be to choose a DSP with a reasonably small pattern or it will get lost on the smaller pieces.  One with lots of colour also gives you lots of options for colours in your card.

Happy Stamping