Friday, July 24, 2015

CASE-ing the Catty #40 - Gift Packaging

Don't you just love gifts, I love shopping for them, picking out the perfect something for someone and then I absolutely love packaging the gift up so it looks just right.  Sometimes I make boxes to perfectly fit a gift, sometimes I just choose some really pretty wrapping, but I think the way a gift is presented gives the recipient a little something extra.  So you can imagine my excitement at this week's CASE-ing the Catty challenge - taking inspiration from the Gift Packaging section.


I took inpsiration from one of the cute gift bags on page 56, but changed up the colour scheme to match the Bohemian DSP.  


In keeping with the theme I sponged the Kraft Tag a Bag Gift Bags using Island Indigo and one of the Happy Patterns stensils.  I accentuated some of the diamonds with the smallest stamp from Bohemian Borders using Blackberry Bliss.  The sentiment is from Tin of Cards stamp set, giving the whole bag some extra pop with silver accents.

Hop on over to Julia's Blog and check out the cute bag she has CASEd.

Happy Stamping
Monique

Saturday, July 18, 2015

Tips n Tricks - Glimmer Trimmer

Have you ever tried to cut glimmer paper with your Stampin' Up! Trimmer?  I have and it completely ruined my blade in the process. I had resorted to using my big guillotine for cutting glimmer paper, but it is big and bulky and I really can't cut thin pieces precisely.  Not to mention it is really inconvenient to have to lug it out of storage to cut a small piece of glimmer paper - the consequence of which is that I stopped using glimmer paper so much on my projects. 

But not to disrepair I have a solution, which I stumbled upon last time I was changing out an old blunt blade from my trimmer. It occurred to me that with the trimmer arm design it would actually be able to hold three blades, with the two least used tucked away at each end, so I added my old blade to the arm and marked it with a G so I don't get them mixed up. You can see how I have them arranged in the picture:


Now I can quickly and easily cut accurate strips of glimmer paper of any width just by grabbing my Stampin' Up! Paper Trimmer.

Happy Stamping
Monique

Sunday, July 5, 2015

ESAD New Catalogue Blog Hop

To celebrate the start of a new Annual Catalogue a group of demonstrators from Extra Special Australasian Demonstrators are doing another blog hop. Whether you have hopped on over from Jackie's Blog or are starting here, just follow the link at the bottom of the page until you hop around to where you started.

I always love a new catalogue and this year is no exception, with new stamps and products to spark creativity. One of the things I love about this catalogue is the range of new products that coordinate with existing products, so have made that the theme of my post for the blog hop.  

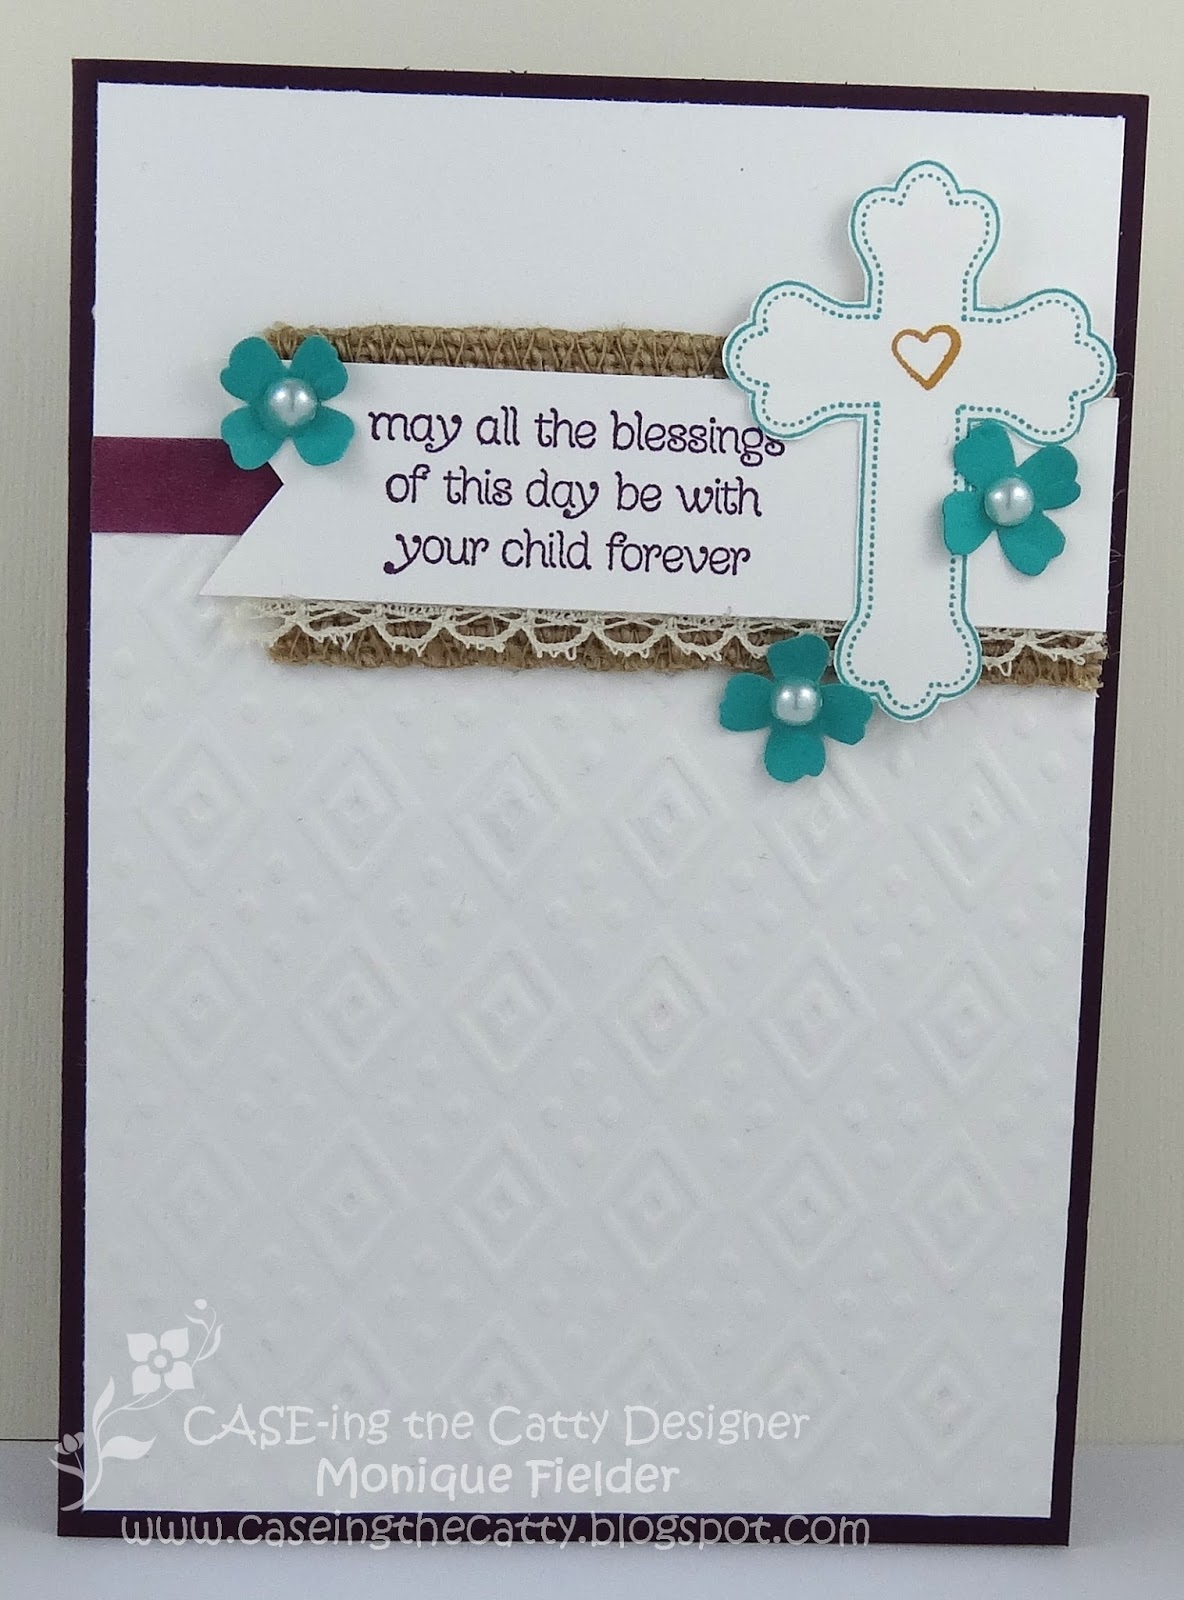
Firstly there is the stunning Watercolor Wings stamp set and framelits that coordinate with Butterfly Basics.  This is a three step stamp set where you add layers of colours to the gorgeous butterfly then cut out using the matching framelits.  Additional new product on this page is the lovely Brick Wall embossing folder, the Tags & Labels Framelits used to cut out the sentiment, and the lovely delicate flowers stamped around the edges are from Birthday Blossoms.


Here you can see how I have actually stamped the butterfly twice, the second time cutting out with the new Butterfly Framelits to give some added depth and life to the card.

This next card uses the cute little flowers again, this time to add some detail to the base of the card. The cute strip across the card is new Boho Washi Tape; and the wreath of spring flowers the butterfly is sitting on is another new stamp set Circle of Spring, that coordinates with the Wonderful Wreath Framelits from previous catalogue.  This card is made using only In-Colours, don't the colours from last year and this year go so well together?

I have used the butterfly stamp from Butterfly Basics to stamp the bottom layer, then cut it with the new solid butterfly from Butterflies Thinlits, and layers of Blackberry Bliss and Vellum for the top layers of the butterfly.

My final card again uses the lovely Circle of Spring stamp set this time stamped in Versamark and embossed with Gold Embossing Powder.  I have added a layer of Gold Foil Sheet to help make it pop.  Photographing this was tricky to give a good idea of how rich it looks.  To add some highlights to the wreath I coloured some of the flowers with Blackberry Bliss Stampin' Write Marker.  The sentiment is from the Birthday Blossoms stamp set (the same one with the cute little flowers used on my previous two cards).  

Time to hop on over to see what Ria has created for you:


Many of you will have visited other ESAD Blog Hops, but if you haven't here is a bit about the group:

Happy Stamping
Monique

Friday, July 3, 2015

CTC 37 - For Baby

Another week and another CASE-ing the Catty Blog Hop.  This week the design team have hopped along to the "For Baby" section of the Stampin' Up! Annual Catalogue.  

There are some really lovely projects in this section, and I have chosen the card on page 35 for my inspiration. I just love this stamp set. I think it is the simplicity of the cross and the beautiful font used in the sentiments.

I wanted to stay fairly close to the original card layout and elements, but wanted to give it a bit more depth of colour so chose Blackberry Bliss, Bermuda Bay and a touch of Hello Honey.  I think the burlap ribbon and colours make it lean a little more masculine than the original, but with the tiny bit of lace trim showing keep the softness for a special occasion.

Here is a little trick I picked up from somewhere - some of our most lovely products make it difficult to adhere the next layer on top (burlap ribbon and glimmer paper two that come to mind).  Simple solution is to cut a hole just big enough for a dimensional in the tricky layer. By popping the dimensionals into the holes they adhere to the smoother base layer and your top layer will stay in place without anyone ever knowing!

Time to hop on over to the next blog and see what the lovely Elizabeth has created

Happy Stamping
Monique